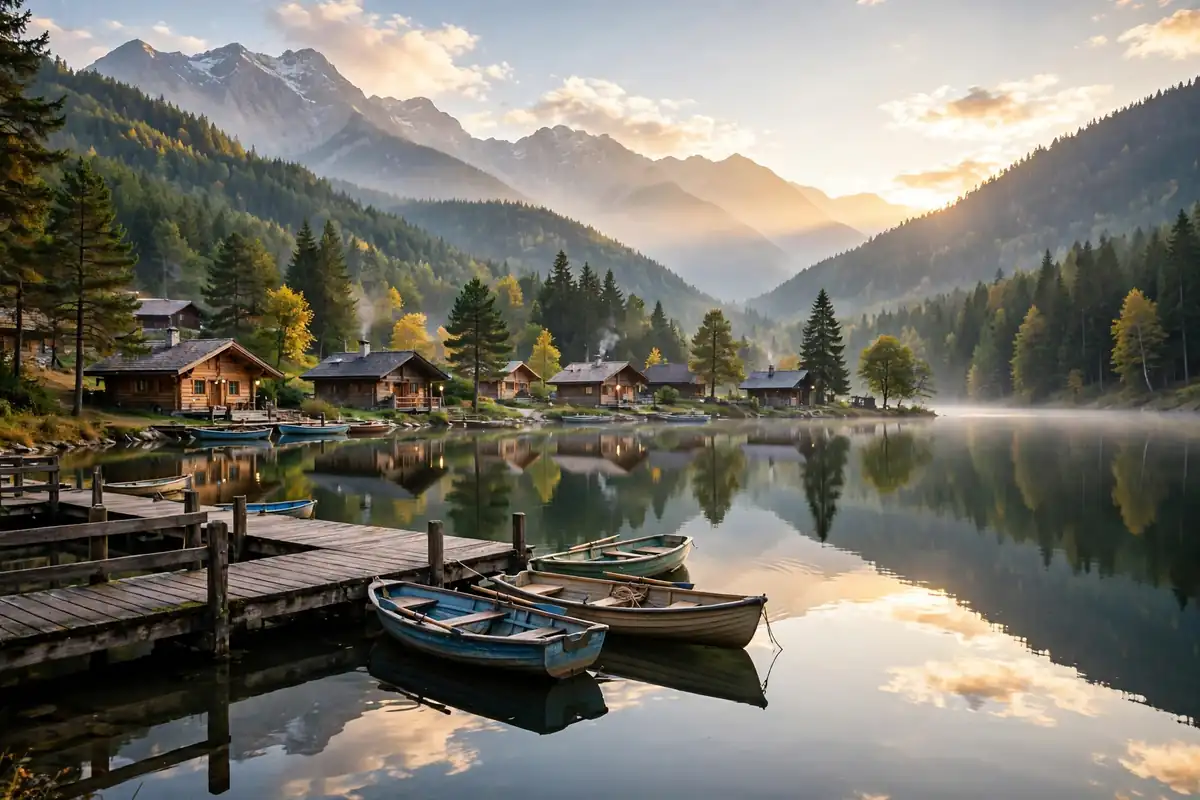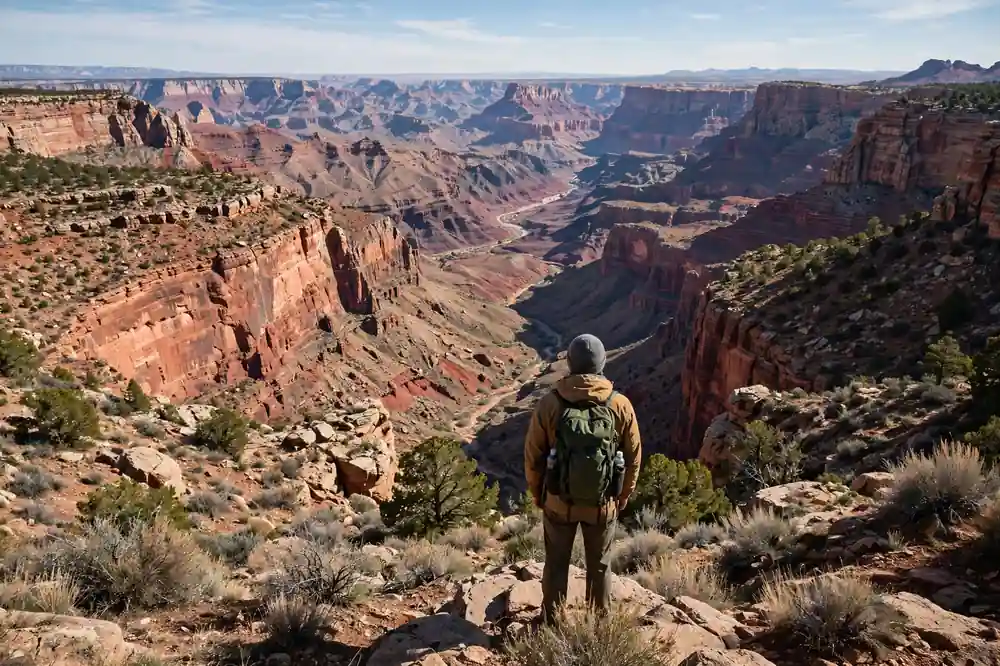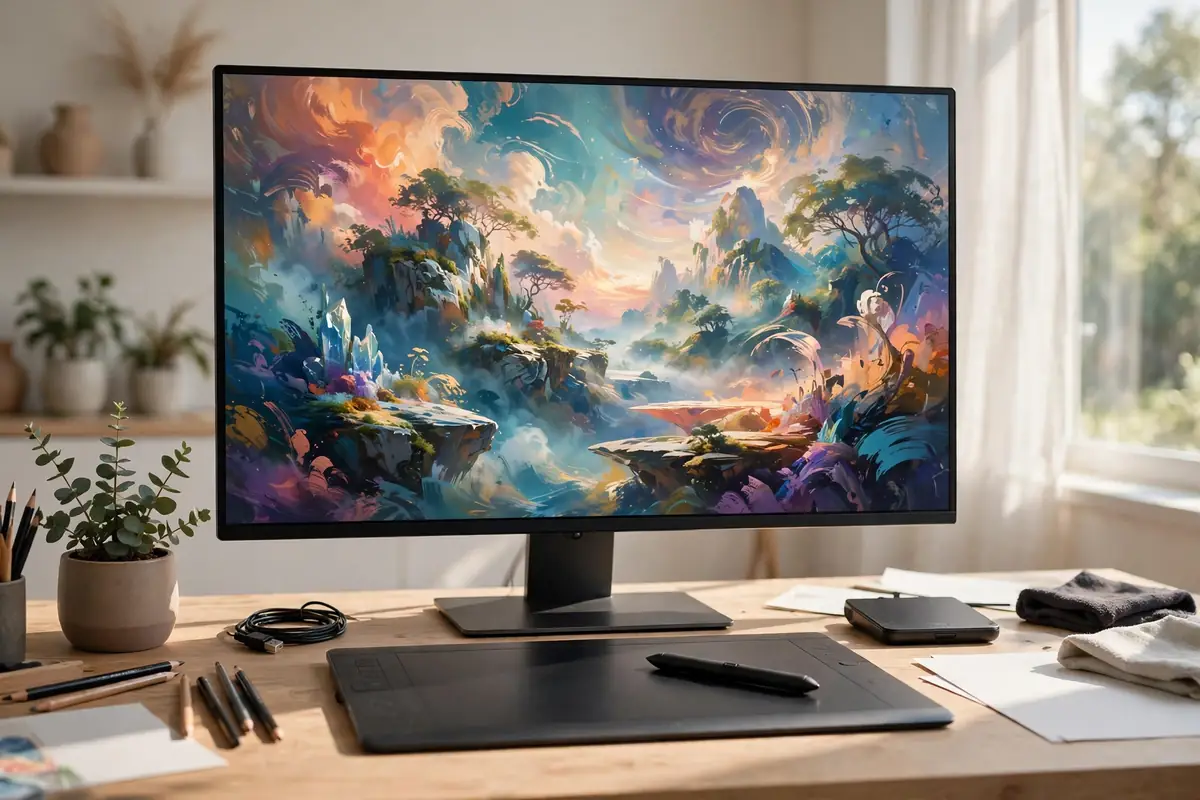
Type a sentence, get a picture. AI image generators turn plain text into illustrations, photos, and artwork in seconds, and they have become a favorite creative tool for bloggers, small businesses, teachers, and hobbyists. If you have never tried one, the process is simpler than it looks. This beginner’s guide explains how to create ai images step by step: choosing a tool, writing prompts that work, refining the results, and using your images responsibly.
Step 1: Choose an AI Image Tool
Beginners have several good options, and the best choice depends on what you want to make. The image generators built into ChatGPT and Google Gemini are the easiest starting points, because you describe a picture in an ordinary chat and edit it with follow-up messages. Midjourney is famous for polished, artistic results and is popular with designers. Canva’s built-in AI image tools suit people making social posts and presentations who want generation and layout in one place. Free tiers exist on most platforms, so you can learn the basics before paying for anything.
All of these appear in our broader roundup of the best AI tools for everyday tasks, which compares what each service does well beyond images.
Step 2: Understand What a Prompt Really Is
A prompt is simply your description of the picture you want. The generator does not read your mind; it builds an image from the details you give it. A weak prompt like “a dog” produces a random dog in a random style. A strong prompt names the subject, the setting, the style, the lighting, and the mood. Think of yourself as an art director describing a scene to an illustrator who works extremely fast and takes everything literally.
If you already use text prompts at work, the skills transfer directly. The habits in our collection of ChatGPT prompts for work, especially giving context and naming the format you want, apply to images just as well.
Step 3: Write Your First Prompt
A reliable formula for beginners is: subject + action or setting + style + details. For example:
- “A golden retriever puppy sitting in a pumpkin patch, autumn leaves, warm afternoon light, photorealistic.”
- “A cozy reading corner by a window with plants and a bookshelf, watercolor illustration, soft colors.”
- “A futuristic city skyline at dusk with flying cars, digital painting, dramatic clouds.”
Notice what each example includes: a clear main subject, a place, a visual style, and one or two details about light or color. Run your first prompt exactly as written, look at the result, and then change one thing at a time. That is the fastest way to learn what each part of the prompt does.
Step 4: Pick a Style and Stick With It
Style words steer the whole image. Common choices include photorealistic, watercolor, oil painting, flat vector illustration, anime, 3D render, and vintage film photo. Mixing too many styles in one prompt confuses the generator, so choose one per image. If you are making a set of images for a blog post or presentation, reuse the same style words in every prompt. Consistency makes a set of AI images look like a deliberate collection instead of a random pile.
Step 5: Refine With Follow-Up Instructions
Your first result is a draft, not a failure. Every tool lets you iterate, and iteration is where good images come from. Ask for specific changes: “make the background a beach at sunset,” “use brighter colors,” “remove the person on the left,” or “show the same scene from farther away.” Most tools also offer variations of a result you like and an upscale or enhance option for a sharper final version. Save any version you like before experimenting further, because you may not be able to recreate it exactly.
Useful Prompt Vocabulary: Light, Lens, and Mood
A small set of descriptive words gives you outsized control over the result. For lighting, try “golden hour” for warm evening glow, “soft window light” for gentle indoor portraits, “dramatic side lighting” for moody contrast, or “bright midday sun” for crisp outdoor scenes. For viewpoint, “close-up” fills the frame with your subject, “wide shot” shows the whole scene, “aerial view” looks down from above, and “eye-level” feels natural and documentary.
Photography words work even if you have never touched a camera. “Shallow depth of field” blurs the background so the subject stands out, while “sharp focus throughout” keeps a landscape clear from front to back. Mood words such as “cozy,” “minimalist,” “cinematic,” and “whimsical” quietly steer color and composition. You do not need all of them in one prompt. Add one lighting word and one viewpoint word to the formula from Step 3, and your images will immediately look more deliberate than the average beginner’s.
Step 6: Fix the Common Problems
AI images have known weak spots, and beginners should expect them. Hands and fingers can look wrong, text inside images often comes out garbled, and faces in crowds may blur or distort. You can work around most of these: keep hands out of frame or simple, add your text later in a design app instead of asking the generator for lettering, and request close-up portraits rather than busy crowd scenes while you are learning. Learning how to create ai images well is mostly learning which requests the tools handle gracefully.
Step 7: Choose the Right Size and Format
Most generators let you pick an aspect ratio, and choosing early saves cropping headaches later. Use a wide landscape ratio for blog headers and desktop wallpapers, a square for social posts, and a tall portrait ratio for phone wallpapers and story formats. Download the largest version the tool offers, since you can always shrink an image but cannot add detail back. If you store a growing library of creations, one of the cloud storage services compared in our guide will keep them organized and backed up.
Step 8: Run Local Tools if You Get Serious (Optional)
Online tools are enough for most people, but enthusiasts sometimes run open image models on their own computers for unlimited generations and deeper control. That path needs a capable graphics card, which is why the hardware advice in our guide to choosing a laptop and our walkthrough for building a gaming PC is relevant: the same graphics power that drives modern games also runs local AI image models. For everyone else, the web tools remain faster and simpler.
Using AI Images the Right Way
A few ground rules keep you out of trouble. Do not create deceptive images of real people, and be careful with pictures that imitate a living artist’s distinctive style for commercial work. Check each platform’s terms for commercial use, since rights differ between free and paid plans. When you publish an AI image, a short disclosure is honest and increasingly normal. Awareness matters on the viewing side too: our guide to spotting phishing emails and scam texts explains how convincing fakes are now used in scams, which is worth understanding before you share images online. And if you post your creations on social media, review your settings with our tips to make your Instagram account private if you would rather share with a smaller circle.
Practice Projects for Your First Week
Skills stick when you make real things. Try these beginner projects:
- A set of three matching illustrations for a hobby blog or newsletter.
- A birthday card image personalized with the recipient’s favorite place.
- A phone wallpaper in a style you love, sized tall for your screen.
- A mock-up of a product or room idea you have been imagining.
Working at a desk setup you enjoy helps longer creative sessions, and our dual monitor setup guide and home office setup ideas can make room for both the generator and your reference images at once. If your phone fills up with saved creations, our steps to recover deleted photos can rescue the ones you remove by accident.
Frequently Asked Questions
Is it free to create AI images?
Most major tools offer a free tier with a limited number of images per day. Paid plans usually add faster generation, higher resolution, and broader commercial rights.
Do I own the images I create?
It depends on the platform and your plan. Providers set their own terms, and rules are still evolving, so read the license for the tool you use before selling or branding with an image.
How long does it take to learn?
Most beginners make images they are happy with in their first session. Real control, meaning you can predict roughly what the tool will produce before you press generate, usually arrives within a week or two of regular practice.
Why do my results look different from the examples I see online?
Showcase images usually come from many rounds of refinement, not a single prompt. Iterate patiently, change one detail at a time, and your results will close the gap quickly.
The whole skill comes down to describing clearly and refining patiently. Pick one tool today, write one good prompt using the formula above, and improve it three times. By the end of that short session, you will understand how to create ai images better than any tutorial can teach you.